Photography can be rewarding and enjoyable as a hobby. Capturing memories forever is something special and admirable. Photographs can help us remember old friends and even our old selves. The information here can renew your inspiration and help you approach your photography with new, fresh ideas. Make sure you read and implement the tips below if you want to take some great photos.
Different shutter speeds work well in different settings so make sure you have a play around with your camera and determine what works for you. Photography allows you to capture a split-second moment and to blur together large time periods. In general, fast shutter speed work best for action shots, whereas slow shutter speeds are ideal for shooting still-lifes, landscapes and other static images.
Overcast skies aren’t great for pictures. An expanse of gray sky in your images will give them a dull, pallid appearance. Black and white photography may work better if you must shoot into an overcast sky. If the day is not overcast, you can show as much of the sky as you want to, but make sure you are attentive to the lighting.
Simplicity is often the key to snapping that great photograph. You can often create a gorgeous picture without playing around with the different motion and color settings.
Shutter Speed
Try your best in making your models relaxed, especially if you don’t know them. Many people see photographers as a possible threat. Be friendly and start a conversation, then kindly ask for permission to take photos. Let them know it is an art form and not because you want to invade their privacy.
Experiment with you camera’s shutter speed settings. When you know how the shutter speed affects your photographs, you can manipulate them to add interest to your pictures. Your camera will have setting indicators for S, M, A, and P modes. Program mode is indicated by the “P”. When you apply this setting it means you camera is fully automatic, so it sets things like shutter speed and aperture for you. If you are less than professional, this is often the best setting.
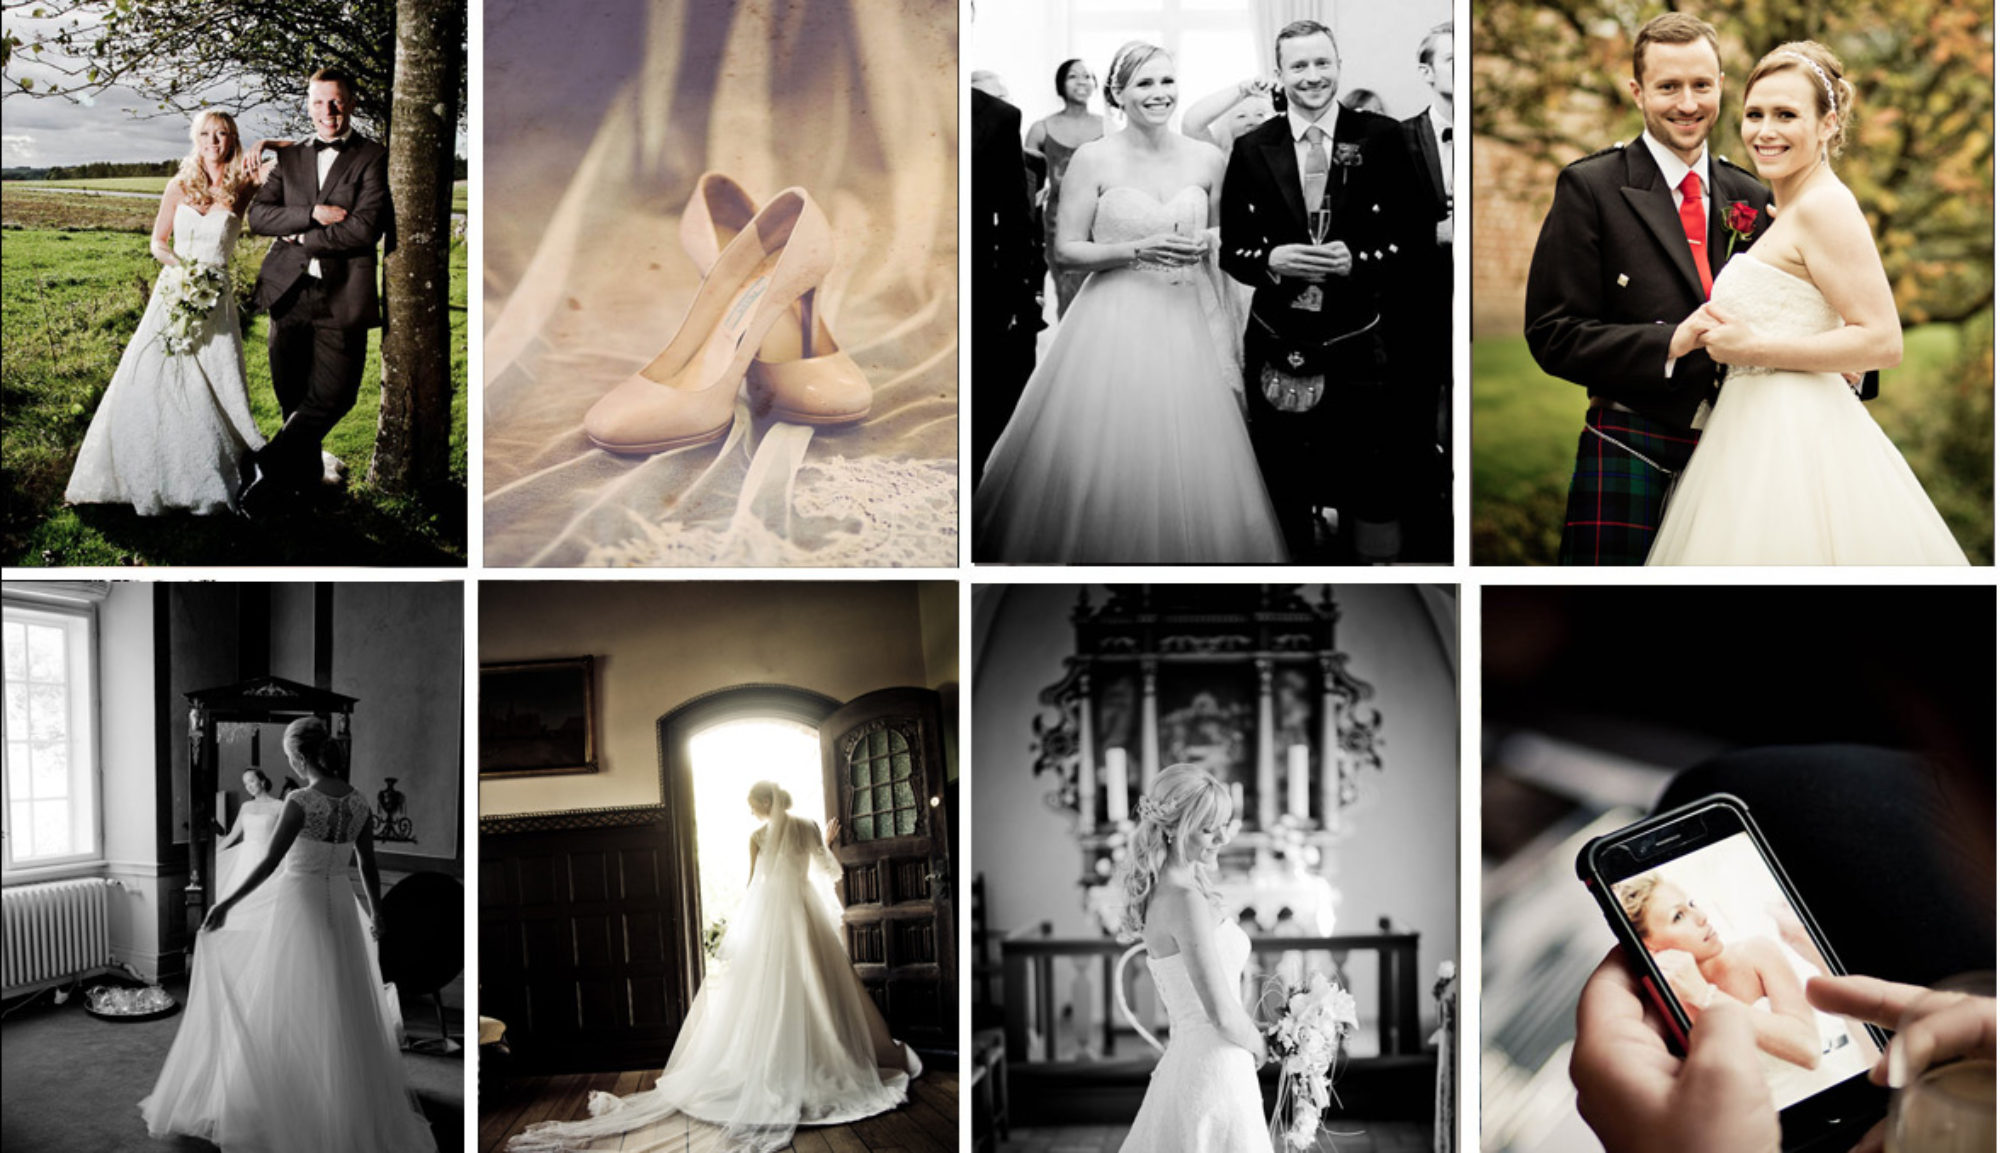
When you are just getting started taking wedding photos you should take some candid shots of the minor details, like a makeup bag of a flower. You just might stumble on a great shot as well.
Pack your equipment for a trip carefully. Bring all lenses that you think you will possibly use, plus a few extra batteries and cleaning tools. Try to pack as lightly as possible, without forgetting any of the essentials, so that your bag remains easy to manage during travel.
In many pictures, people will be looking directly into the camera. Get your subject to look at something to the right or left of the camera for a unique picture. Also, you can try having them focus on something that is in the frame, but still not looking at the camera.
When traveling, photograph your souvenirs. Make separate photo albums for each trip you have photographed. These pictures can be placed in an album to create the story of your trip, with memories to treasure in future years.
Many people believe that it is advantageous to wear white when they are being photographed. However, white is actually one of the most unfavorable color choices. Most photographs will use the auto-focus setting and let the camera interpret what is in the frame. With white clothing, the camera has a hard time adjusting to keep the whites looking good, while preserving detail on peoples’ faces, and photos can turn out looking under or overexposed.
Focus your camera with the subject in the middle and then shift it to the left or right before taking the picture. A centered subject is the norm and most people will not find it interesting or artistic. Off-centering your subjects can create an interesting element for the viewer.
When taking group photos of couples, families or larger groups, give them advice on the best type of clothing to wear in the photoraph. Matched colors aren’t mandatory, but clothing colors in the same family or in complimentary tones will greatly enhance your resulting photos. Recommend warm colors or neutral shades, as they go well with natural surroundings. If your subjects want to wear bright colors, suggest that they also include some black pieces so their attire is not too overwhelming.
You should ensure your photographs have three vital things when you’re having to deal with any type of landscape subject. Working backwards these are background, mid ground and, of course, the foreground. Using these correctly is the most important part of composition, not just in photography, but other forms of visual art also.
Manually set the white balance feature on your camera. This can dramatically affect your photo’s mood, and control the appearance of your photo. While you’ll have to adjust to this new setting, you’ll no doubt be pleased with the end results.
If you want to take better pictures, start by reading the instruction manual that came with your camera. Manuals may seem complicated and boring. They are often banished to the bottom drawer or tossed entirely. Rather than trashing your manual, make some time to learn the information it provides. The manual can teach you how to take higher-quality pictures and avoid simple mistakes.
Proper knowledge of how to adjust the ISO setting of your camera is essential to getting great shots. With a higher ISO setting, you are able to compensate for a lack of light, but you are going to get a lot more noise in your image. Unless your goal is to achieve a grainy look, this effect can be disastrous.
If you are taking photos of people, like families, couples or a group, be sure to give them some advice about what to wear before picture day. While it is not mandatory for everyone to be wearing the same color, it can greatly enhance the finished photo if all the clothing colors complement each other. Recommend warm colors or neutral shades, as they go well with natural surroundings. If they prefer bolder shades of color, then recommend adding black to the mix in order to blend multiple hues.
Make a custom silhouette. The most often used way to create silhouettes is by using sunset. However, a variety of other approaches can achieve similar results. Any time the background is brighter than your subject, you will create a silhouette effect. You can establish artificial light in the background or position your subject before a source of light, such as a window, if you want to create a silhouette image. Just bear in mind that sometimes the outline of a body or face can highlight an unflattering feature.
Using the manual white balance on a camera can be very beneficial for your photography. Doing this will have a huge affect on the mood your pictures will have, and will give you more control over how each photograph will look. It takes some practice to get things right, but you can be more creative with your photos when you utilize manual white balance.
Try to think of a concept before you start shooting. Write down some ideas to find ways to get a better shot. Photography is an art, and things like perspective and creativity are apparent in great photos. By treating your pictures more seriously, you will see a big improvement in the photos.
Experiment with silhouettes. The most often used way to create silhouettes is by using sunset. However, a variety of other approaches can achieve similar results. Any background that produces bright light will display the subject in silhouette, providing the subject is not as bright as the background. Using an “off” camera flash behind your subject or using a bright window behind them can create your perfect silhouette. However, be aware that the silhouette image may call attention to a less-than-flattering aspect of your subject.
Try to use optical zoom instead of digital zoom on close-up shots. Your camera will let you zoom in on the subject; however, you’ll experience poorer quality when the zoom is switched from optical to digital zoom. When a camera is in digital mode, it interpolates pixels before it affixes them to the picture, and this can lessen the quality of the image. Read through your camera’s instruction manual to determine whether or not you can disable digital zoom.
Uv Filter
How will your picture be used? This is something you need to think of before you take the shot. You might want to turn the camera vertically for certain shots and horizontally for others. After the picture is taken, you can always edit it on your computer. You can crop your picture or change the colors and light very easily. However, you should aim to get your picture right on the first attempt.
Different filters are used as an extension of a camera’s lenses. They attach directly to the lens and can be used for a variety of reasons. The most frequently used filter is a UV filter. A UV filter shields your camera lens from the rays of the sun. A UV filter can also provide a protective buffer for your lens.
A good photography tip to help you get started is knowing the proper way to hold a camera. If you hold the camera the wrong way, you will not be able to get a very stable image. To properly hold the camera tuck your elbows close to the side of your body, and support the lens using your non-dominant hand.
Learn to vary your shutter speeds according to the scene. Many photographers, especially those using a camera’s auto settings, use the fastest shutter speed for the available light to freeze all moving action in the picture, but slower speeds such a 1/30 can create interesting effects. Did you see that guy on the bike? If implemented correctly, you can end up with an image where the backdrop is blurred while the cyclist remains in focus, indicating the speed at which he propelled himself.
Though you may not think you need a flash outside, take a look and make sure. Using a flash outside can get rid of facial shadows caused by the sunshine. If you have fill flash on the camera, set it to this. The flash your camera produces will push light into the dark places on your subject’s face.
Get down to the child’s eye-level when taking a picture of them. This is a very simple solution to a problem that can drastically improve photo quality.
Being familiar with the camera is key to getting the best shots. Be sure you study your own camera very well.
Keep in mind that you don’t have to hold the camera in its regular horizontal position when snapping photos. You can often make a striking photo with your camera vertical. Zoom out if you want to shoot full-body pictures of people, or zoom in if you are photographing a smaller, more detailed subject.
This means that you will want to focus on anything that involves exposure, like aperture, film speed, and shutter speed. Learn what you can about exposure to help improve your photography.
Digital Zoom
A picture speaks a thousand words and your job as a photographer is to communicate those words and the proper meaning through your photos. Your composition must be well thought out to create the best shot possible. Well-composed photos are the shots that draw viewers’ eyes, and allow them to see further into the picture’s details and meaning.
Use the digital zoom feature sparingly, if at all, when doing close-up shots. Digital zoom will bring you in closer, but image quality will suffer. When you are using digital zoom, many cameras are set up to interpolate pixels, while adding them to your image. This will result in a decreased image quality. Read over your camera manual and see how you can disable this feature.
Night photography, is a whole different ballgame. It is critical to ensure that lights be properly set up, if natural lighting will not suffice. Setting your shutter speed low and using artificial light can help you take some great pictures at night.
As you’ve read, photographs preserve memories and allow you to cherish them forever. Even though photos are just paper, you can prize them forever! By using the ideas here when taking pictures, you will find your skill growing and reflected in the beauty of your photos.
Framing the perfect food shot can be quite complicated. Food will melt, wither, and shift during the photography session, ruining shots. You should make sure to arrange all non-food items before you set up your professional food shot. After that, check to see that the lighting is the way you want it. Now you can bring out the food and get your amazing shot.